 by
by Effective application state management is essential to modern web development, particularly large-scale applications. Redux is one of the most widely used libraries for state management in React apps. This tutorial will take you through the fundamentals of Redux with concise explanations, code samples, and visualizations, whether you’re just getting started or want to expand your skills. Let’s learn Redux.
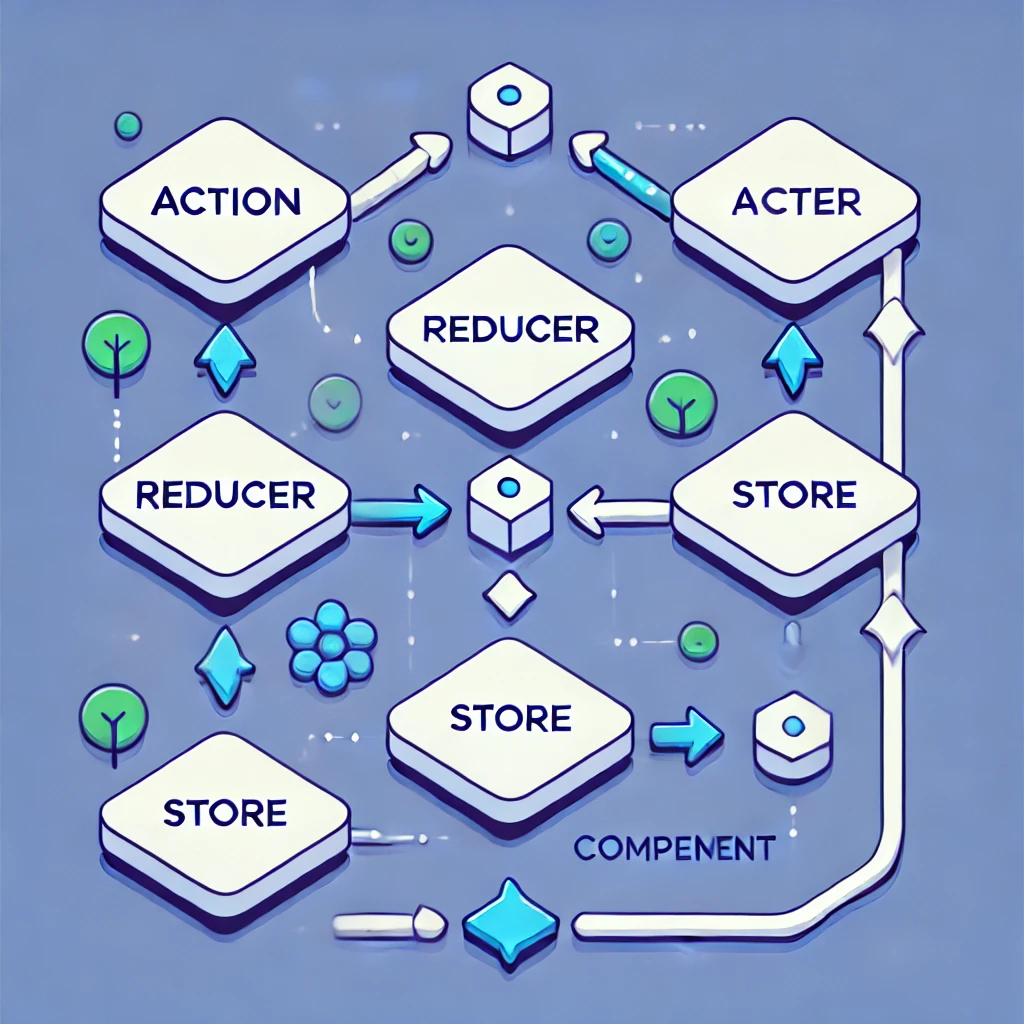
What is Redux?
Redux is a JavaScript application’s predictable state container. It assists you in creating applications that are simple to test, function consistently across various environments (client, server, and native), and act consistently. Redux is most frequently used with React, however it functions well with any framework or library.
Consider Redux as a single repository for every component in your application. To change the state, any component can send or access actions. Managing states across several components becomes less complicated as a result.
Core Concepts of Redux
Redux revolves around three fundamental principles:
- Single Source of Truth: The state of your application is stored in a single object, called the store.
- State is Read-Only: The only way to change the state is by dispatching actions.
- Changes are Made with Pure Functions: To specify how the state tree is transformed by actions, you write pure reducers.
Setting Up Redux
Let’s get started by setting up a basic Redux environment for a React project.
Step 1: Install Redux and React-Redux
You need both the redux and react-redux libraries. Use the following commands:
npm install redux react-redux
Step 2: Set Up the Redux Store
Create a new file, store.js, and configure your store.
// store.js
import { createStore } from 'redux';
import rootReducer from './reducers';

const store = createStore(rootReducer);

export default store;
Creating a Redux Store
A Redux store holds the state of your application and allows you to dispatch actions.
Store Setup
The store is where your application’s state lives. Let’s see how we can configure the store with a reducer.
// reducers/counterReducer.js
const initialState = {
  count: 0,
};

const counterReducer = (state = initialState, action) => {
  switch (action.type) {
    case 'INCREMENT':
      return {
        ...state,
        count: state.count + 1,
      };
    case 'DECREMENT':
      return {
        ...state,
        count: state.count - 1,
      };
    default:
      return state;
  }
};

export default counterReducer;
In the code above, we created a basic reducer to manage a counter state with two actions: INCREMENT and DECREMENT.
Root Reducer
If you have multiple reducers, you can combine them using combineReducers:
// reducers/index.js
import { combineReducers } from 'redux';
import counterReducer from './counterReducer';

const rootReducer = combineReducers({
  counter: counterReducer,
});

export default rootReducer;
Working with Actions and Reducers
Actions are plain JavaScript objects that describe what should happen to the state.
// actions/counterActions.js
export const increment = () => ({
  type: 'INCREMENT',
});

export const decrement = () => ({
  type: 'DECREMENT',
});
Dispatching Actions
To change the state, you dispatch an action. Redux listens to these actions and updates the state via reducers.
store.dispatch(increment());
store.dispatch(decrement());
Connecting Redux to React
Now that our Redux store and actions are set up, let’s connect Redux to React using the react-redux library.
Provider Component
The Provider component makes the Redux store available to any nested components that need to access the Redux state.
// index.js
import React from 'react';
import ReactDOM from 'react-dom';
import { Provider } from 'react-redux';
import store from './store';
import App from './App';

ReactDOM.render(
  <Provider store={store}>
    <App />
  </Provider>,
  document.getElementById('root')
);
Using useSelector and useDispatch
In a React component, you can use useSelector to access the Redux state and useDispatch to dispatch actions.
// Counter.js
import React from 'react';
import { useSelector, useDispatch } from 'react-redux';
import { increment, decrement } from './actions/counterActions';

const Counter = () => {
  const count = useSelector((state) => state.counter.count);
  const dispatch = useDispatch();

  return (
    <div>
      <h1>Counter: {count}</h1>
      <button onClick={() => dispatch(increment())}>Increment</button>
      <button onClick={() => dispatch(decrement())}>Decrement</button>
    </div>
  );
};

export default Counter;
Advanced Usage of Redux: Scaling and Optimizing Your State Management
Although a great deal of territory is covered in the fundamentals of Redux, there is much more to learn about advanced Redux usage. As your apps get more sophisticated, you’ll need to leverage more capabilities from Redux to manage intricate processes, maximize speed, and maintain maintainable code.
In this section, we’ll explore advanced Redux topics, including:
- Middleware and Asynchronous Actions
- Redux Thunk
- Normalizing State Shape
- Redux Toolkit
- Memoization with Reselect
- Handling Large Apps with Slices
Middleware and Asynchronous Actions
In Redux, middleware serves as a link between the reducer and the action dispatch. It enables you to manage asynchronous tasks, such as data retrieval, without going against Redux’s principle that dictates actions have to be simple JavaScript objects.
Middleware operates in the space between when an action is sent and when it reaches the reducer. Actions can be stopped, modified, or paused. Examples of common middleware functions are asynchronous request processing, crash reporting, and logging.
Example: Creating a Custom Logger Middleware
const logger = store => next => action => {
  console.log('dispatching', action);
  let result = next(action);
  console.log('next state', store.getState());
  return result;
};
You can apply this middleware when creating your Redux store:
import { createStore, applyMiddleware } from 'redux';
import logger from './loggerMiddleware';
import rootReducer from './reducers';

const store = createStore(rootReducer, applyMiddleware(logger));
Redux Thunk: Handling Asynchronous Actions
One of the most common middleware used in Redux is Redux Thunk, which allows action creators to return functions instead of plain objects. This is useful for handling side effects like API calls or complex logic.
First, install Redux Thunk:
npm install redux-thunk
Then, apply it to your store:
import { createStore, applyMiddleware } from 'redux';
import thunk from 'redux-thunk';
import rootReducer from './reducers';

const store = createStore(rootReducer, applyMiddleware(thunk));
Asynchronous Action Example with Thunk
// actions/userActions.js
export const fetchUsers = () => {
  return (dispatch) => {
    dispatch({ type: 'FETCH_USERS_REQUEST' });

    fetch('https://jsonplaceholder.typicode.com/users')
      .then(response => response.json())
      .then(data => dispatch({ type: 'FETCH_USERS_SUCCESS', payload: data }))
      .catch(error => dispatch({ type: 'FETCH_USERS_FAILURE', error }));
  };
};
In this example, fetchUsers dispatches an initial request action, then performs an API call. Upon success, it dispatches another action with the fetched data. If it fails, it dispatches an error action.
Normalizing State Shape
As your state grows, having a flat, normalized state can improve performance and simplify state management. A normalized state reduces redundancy and allows for more straightforward updates.
Consider a scenario where you fetch posts and authors. Instead of storing posts with nested authors, you can normalize the data.
Unnormalized State Example:
{
  posts: [
    {
      id: 1,
      title: 'Post Title',
      author: { id: 1, name: 'Author Name' }
    }
  ]
}
Normalized State Example:
{
  posts: {
    1: { id: 1, title: 'Post Title', authorId: 1 }
  },
  authors: {
    1: { id: 1, name: 'Author Name' }
  }
}
To normalize data, you can use the normalizr library:
npm install normalizr
Example of using normalizr to normalize API responses:
import { normalize, schema } from 'normalizr';

const author = new schema.Entity('authors');
const post = new schema.Entity('posts', { author: author });

const normalizedData = normalize(apiResponse, [post]);
Redux Toolkit: The Modern Way to Use Redux
Redux Toolkit is the official, recommended way to write Redux logic. It reduces boilerplate and simplifies common Redux patterns.
To get started with Redux Toolkit:
npm install @reduxjs/toolkit
Creating a Redux Slice with Toolkit
A slice contains both reducers and actions in one place, streamlining your Redux setup.
import { createSlice } from '@reduxjs/toolkit';

const counterSlice = createSlice({
  name: 'counter',
  initialState: { count: 0 },
  reducers: {
    increment: state => { state.count += 1 },
    decrement: state => { state.count -= 1 }
  }
});

export const { increment, decrement } = counterSlice.actions;
export default counterSlice.reducer;
This drastically reduces the boilerplate code required to set up Redux actions and reducers. Instead of manually creating actions and reducers, createSlice does it all for you.
Configuring Store with Redux Toolkit
import { configureStore } from '@reduxjs/toolkit';
import counterReducer from './counterSlice';

const store = configureStore({
  reducer: {
    counter: counterReducer
  }
});
Memoization with Reselect
Reselect is a library for creating memoized selectors. Selectors are functions that derive or compute some piece of state. With memoization, if the input state doesn’t change, the selector returns the previously computed result, improving performance.
To install Reselect:
npm install reselect
import { createSelector } from 'reselect';

const selectCounter = state => state.counter;

export const selectCount = createSelector(
  [selectCounter],
  counter => counter.count
);
Memoization prevents unnecessary recalculations and renders, especially when dealing with derived data from complex states.
Handling Large Applications with Slices
Organizing the state using slices as your application grows can help you manage different parts of your app effectively. Each slice focuses on a specific piece of the state.
Example: User Slice
// userSlice.js
import { createSlice } from '@reduxjs/toolkit';

const userSlice = createSlice({
  name: 'user',
  initialState: {
    loggedIn: false,
    userInfo: null,
  },
  reducers: {
    login: (state, action) => {
      state.loggedIn = true;
      state.userInfo = action.payload;
    },
    logout: (state) => {
      state.loggedIn = false;
      state.userInfo = null;
    }
  }
});

export const { login, logout } = userSlice.actions;
export default userSlice.reducer;
Splitting different concerns into slices (e.g., user, posts, comments) ensures that the state remains manageable as the application grows.
Using Redux Thunk and other middleware, standardizing your state, and utilizing the Redux Toolkit can help you become more proficient with Redux and improve the efficiency of handling the state of your application. Using sophisticated ideas like Reselect memoization and dividing your state into slices can help you create a more scalable and maintainable application.
Redux is still a great choice when managing state in big, complicated apps. You’re ready to fully utilize its power with these advanced approaches.